Brass Mallet
|
|
|
|
|
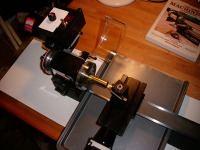
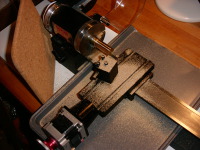
Initial Setup
Here's the initial setup with the 3/4" brass rod mounted in the chuck.
The cookie sheet catches most of the chips. I cut one end off in order to
make it fit under the ways.
Bigger...
|
|
|
|
|
|
|
|
|
|
|
|
|
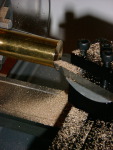
Turned to Size
Zoom out of the previous picture. You can see the piece of cork that I
used to catch most of the extra chips.
Bigger...
|
|
|
|
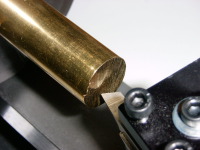
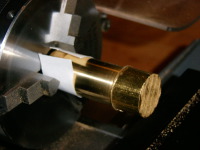
Groove and Finish
A 0.062" deep groove was added 0.3" from the end using a 60 degree
thread cutting toolbit. I also sanded the brass (which is why I put the
paper towel across the ways). You can see the fine dust created on the face
of the chuck.
Bigger...
|
|
|
|
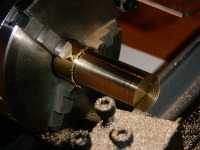
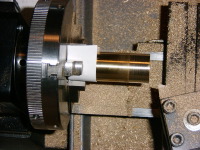
Swap End
The piece was turned around. I used a piece of paper to protect the
finished end of the brass. I also clamped a dial indicator to the cross
slide to get the piece aligned within a couple thou.
Bigger...
|
|
|
|
|
|
|
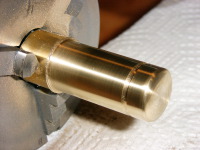
After Polishing
Polishing wasn't required. I did it mostly to see how well it might work.
After sanding on the lathe, I applied some Brasso to the piece and polised
with my Dremel drill.
Bigger...
|
|
|
|
Ready for milling
Here the mallet head is mounted in the vise ready to be milled. I left
a bit hanging out of the end to aid in locating the center. There's a small
piece of scrap aluminum underneath (visible just beneath the groove) so the
vise doesn't get milled.
Bigger...
|
|
|
|
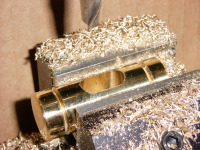
Slot started
Here we see what it looks like after a few passes with the milling machine.
I put a piece of cardboard behind the Y axis to try and contain some of
the chips. The milling machine spreads chips everywhere :)
Bigger...
|
|
|
|
|
|
|
|
|
|
Finished Slot
The slot is finished, with the chips cleared away. I just had to deburr
the edges of the slot.
Bigger...
|
|
|
|
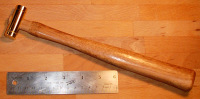
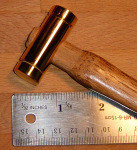
Finished Mallet
Here we have the finished mallet. This is the smallest handle I could find,
and it's still obviously too big.
Bigger...
|
|
|
|
|
Home
- Machinist
- Projects
|